 No one should be deterred from taking on a classic car for restoration if it has suffered accident damage - as long as it is financially viable and physically possible to carry out the repair.
 It is essential to look at panel repair systematically before embarking on a project, especially if it is being carried out in-house and for the first time.
 A basic understanding of sheet metal characteristics in vehicle production will go a long way to success- even before the first piece of sheet metal has been cut.
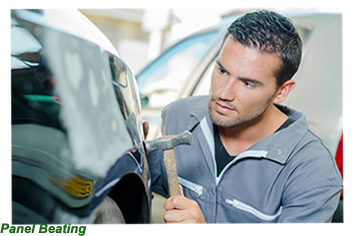
The secret of success in panel beating is based on the skill of bending sheet metal slightly past its limit of elasticity, although enough that it will not spring back to its original flat profile.
With the correct pressure applied, the new shape will be retained due to stresses passed on to the newly formed curve, with the outer portion of the area having stretched and the inner portion contracted.
This procedure is known as high or low crowning.
These stresses will cause the metal to harden, although in extreme cases, the metal may become brittle and liable to break off during the repair.
Getting the bending process is a mixture of skill and experience on one side and the correct equipment on the other.
![]()
 It should also be remembered that, during pressing, the outer surface of a panel, even in low-crowned areas, will have been affected by the dye of the metal press dyes and hardened in much the same way as ordinary sheet steel which has been rolled to impart a surface tension.
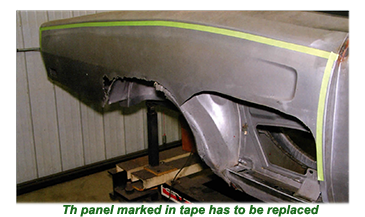
Assessing damage levels before repair.
Damage rectification is divided into two stages- the first stage is known as "roughing out," during which the reinforced sections are first straightened, and the panel returned to its approximate shape,
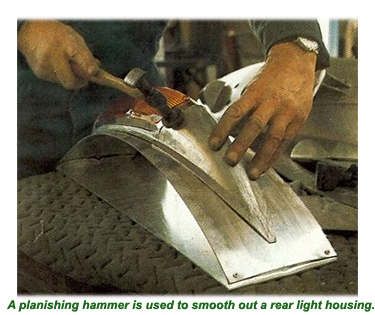
 The second and final is known as "finishing", where the metal surface is returned to a smooth state using either a "hammer and dolly" treatment or a bumping file, body file combination.
Roughing out
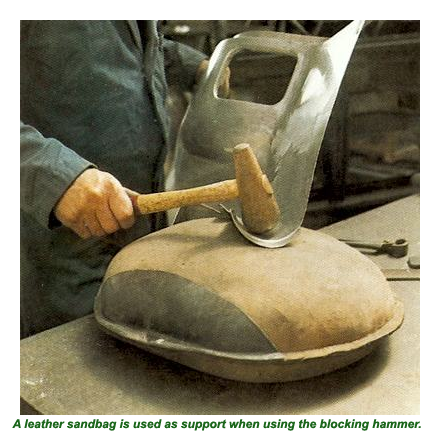
Roughing out describes the process of knocking a panel back into some semblance of its prior shape. In localised panel repairs, this procedure is usually carried with a hammer and dolly.
Depending on the nature of the damage, a mallet may also come into play in tight areas, such as creases in the metal where a more heavy-handed approach is needed to prevent the panel from returning to its former shape.
![]()
In panel beating, the hammer is employed in a very different fashion to most other disciplines. Generally, a hammer is held loosely and allowed to rebound naturally.
There should be no follow-through, no attempt to punch the work, as in hammering in a nail with a dolly. Failure to hold the hammer properly of an experienced panel beater will soon result in fatigue as instead of hitting just two or three blows, dozens of light taps will be required.
 Ideally, the dolly should weigh approximately three times more than the hammer. The panel beater should stand in a slightly bent-kneed 'fighting stance, with one foot forward under the dolly hand for the best professional results.

 Whichever the technique employed, the aim is always to "tease" the area of metal being treated so that it sits directly over the dolly.
As the job progresses, an experienced panel beater may use a body file or similar device to level off edges and get a clear picture of how the job is progressing.
Once the panel has been carefully moulded into shape, it will be ready to be attached to the body by welding.


bo23